
How to burn candles
FIRST BURN | BEST PRACTICES | COMMON ISSUES
There's more to candles than meets the eye. Perfected over thousands of years of human innovation, candles have lit up people's lives since the earliest days of Roman civilisation. For over three-thousand years, candles have accompanied major events in history.
A lot has changed since those early days, and the quality of candles has markedly improved. Nevertheless, there are still some simple things you can do today to get the most out of your candle burning experience.
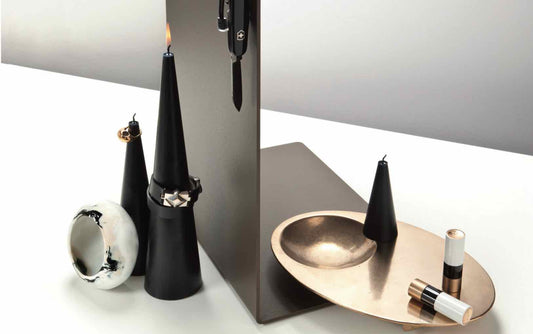
What makes a quality candle?
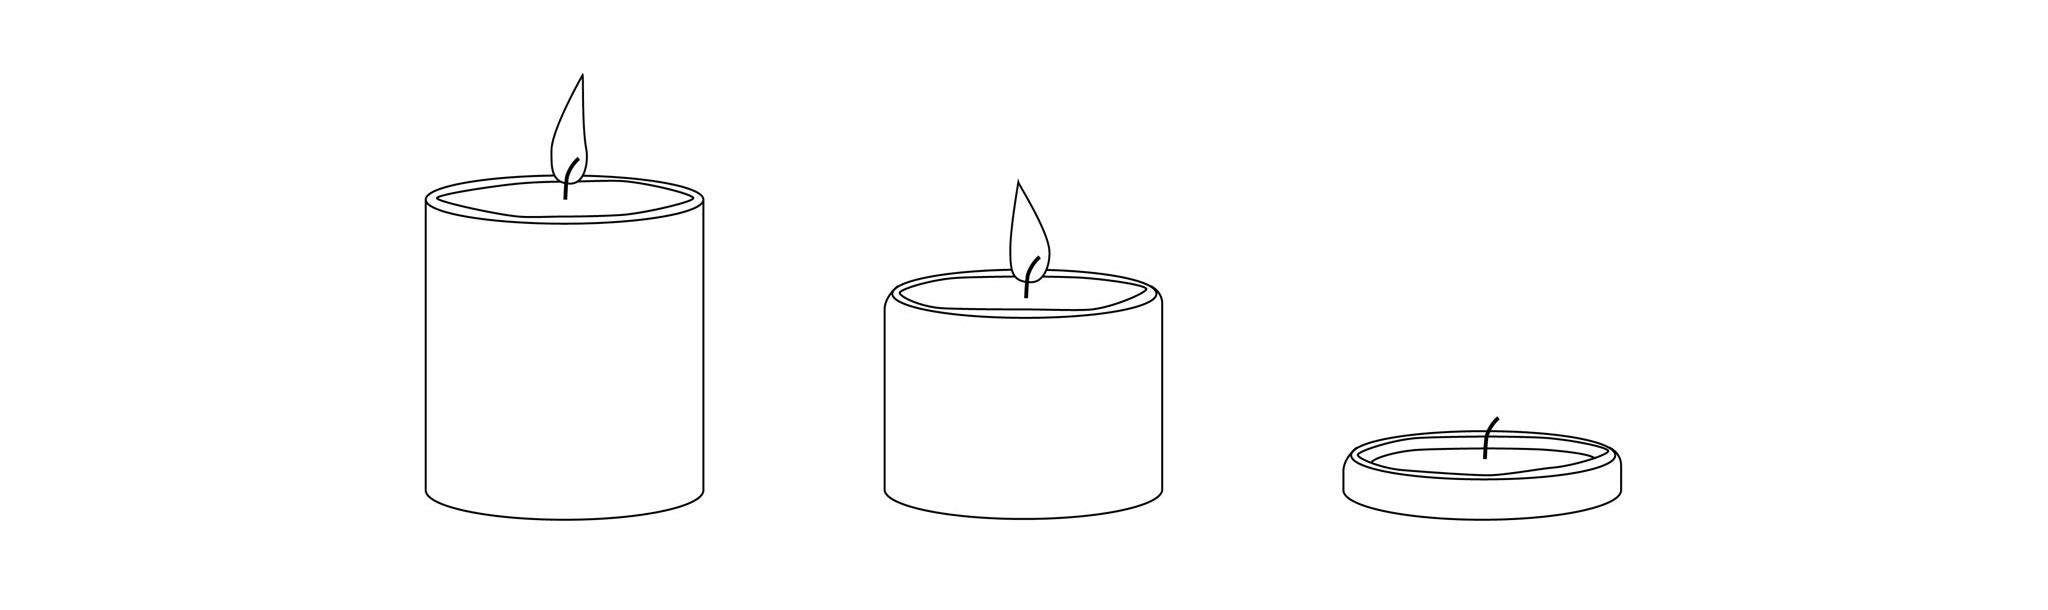
A good quality candle can be recognised by the way it burns. Our candles have a slow, calm and even burn, with a steady flame that burns the wax all the way down. This means our candles burn longer, cleaner and brighter.
Candle Kiosk candles are made of the finest, purest wax (we use coconut wax, haze wax, mineral wax and rice bran wax, depending on the candle) and finished with high quality cotton wicks to ensure a beautiful, clean burn. Our candles are designed to burn evenly all the way down without dripping1, smoking or tunnelling (see how this works in the video below).
Time lapse video of a pillar candle burning down
To get the most out of your candles, read on about best practices when it comes to candle burning and maintenance, and have a look at the tips below to learn about common issues, and how to prevent and fix them.
FIRST BURN
Getting your candle burning experience off to the best possible start is as easy as 1-2-3:
1. Trim the wick
2. Set the candle memory by letting the wax pool melt to the edge of the candle
3. Keep some distance between burning candles
Read on to find out why this matters.

1. Trim the wick
It may seem counter-intuitive, but a short wick gives a cleaner, brighter flame and an even burn, while a long wick can cause smoking and can cause mushrooming of the wick, where a mushroom-like shape forms at the top of the wick which can disturb the flame.
Before lighting, trim the wick to 6mm and remove any wick debris. Any debris left in the wax pool can disturb the burning of the candle. We recommend trimming the wick every 4 hours; extinguish the flame, let the candle cool down, trim the wick, and relight.
A trimmed wick creates a calm, steady flame, which means the candle's burning process is in balance. The wick is efficiently pulling up the right amount of wax, and the flame creates complete combustion. A wick that is too long won't be able to draw wax all the way to the top, and the wick itself will start to burn, causing it to smoke. A wick that is too long can also cause a candle flame to grow too long and flare, again producing soot.
2. Set the candle memory
Let the wax melt close to the edge the first time you burn your candle. This may take up to 6 hours of burning, depending on the diameter of the candle (see below under 'Setting the memory' for details, or check out our Getting Started guide), so make sure you allow for enough time before you light your candle for the first time.
We do this because the size of the wax pool during the first burn determines the life of the candle. Subsequent burns won't melt the wax beyond the initial wax pool, so if it didn't melt close enough to the edge of the candle, a thick, unused mantle could develop and the candle will 'tunnel' down into itself. This is referred to as tunnelling.

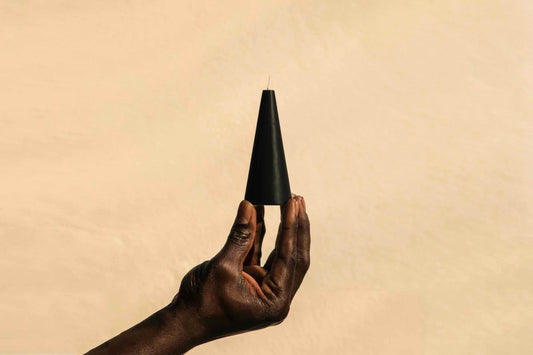
To avoid this tunnelling effect we need to maximise the size of the initial wax pool. This is referred to as setting the memory of the candle, and it is done by burning the candle for 1 hour per 2cm in diameter the first time you light it. For our 7cm diameter pillar candles, the initial burn time should be at least 4 hours, and for our 10cm diameter textured column candles it should be at least 5 hours. Due to their unique shape, our cone and sphere candles do not have such a requirement, and because of their small diameters, neither do our taper candles.
3. Keep distance
Place lit candles at least 10cm apart to avoid melting, dripping and warping due to heat from neighbouring candles.
BEST PRACTICES
Avoid draughts
Candles burn best in still air - if too much (or too little) air reaches the candle flame, it will disturb the ideal teardrop shape of the flame and may cause the candle to start flickering, smoking and sometimes dripping. To avoid this, always burn your candles in a well-ventilated room, away from draughts, vents or strong air currents. If a draught can't be avoided, try shielding the flame from the draught, for instance by placing it in a candle holder, and turn the candle periodically to avoid uneven burning and possible candle collapse.
Clean the wax pool
The wax pool should always be kept clean. Any debris (e.g. pieces of wick, burnt matches) should be removed so as not to disturb the burning of the candle.
Maximum burn time
For best results, don't burn your candle for longer than 4 hours at a time (this can be longer for our 10cm diameter textured candles, which benefit from longer burning times). Extinguish, let the candle cool down, trim the wick, and relight.

COMMON ISSUES
1. TUNNELLING
When a candle burns hollow, or leaves a thick, unused mantle or rim, this is referred to as 'tunnelling'. Tunnelling has some negative effects: if tunnelling continues unchecked, you'll end up throwing away a large part of your candle, as the rim won't melt away. A tunnelling candle will also smoke, as the tunnel disrupts the airflow to and from the flame.
Maximising the wax pool
It can be avoided by making sure the initial burn is long enough to melt the candle all the way to the edge, or in other words; to maximise the wax pool. See above for details of this process, which is referred to as setting the memory of the candle. As a rule of thumb, burn your pillar candle for 1 hour per 2cm in diameter the first time you light it.
Hugging the candle
If the tunnelling hasn't gone too far, try allowing the candle to sort itself out by burning it for a prolonged period of time; anywhere from 4 to 8 hours could do the trick. If that doesn't help, another way to fix it is by 'hugging' the candle; pushing the soft wax rim at the top of the candle inwards towards the flame, so that it has a chance to melt.
Trim the wax rim
If however the tunnelling has gone too deep to fix by hugging, the rim can be trimmed down with a sharp knife when the wax is warm. Blow out your candle, make sure the wax pool solidifies or clean it out to avoid dripping wax everywhere, and cut off the excess rim. Be careful not to damage the rim or the candle might start dripping when you relight it.
Note that a single-wick candle with a diameter greater than 10cm will generally tunnel, as the wick won't generate enough heat to melt the wax all the way to the edge.

2. SMOKING
A well-made candle can produce a little smoke every now and then, but it should never continuously smoke. If your candle flame keeps flickering, it might also be smoking. If a noticeable amount of smoke is being generated, or the sides of your container show black marks, knowing the causes can help stop it.
Keep your wax pure
It is a common misconception that sooting is caused by the type of wax (e.g. beeswax, coconut, palm, paraffin or soy wax), but sooting is primarily due to flame and combustion disturbances2. Contrary to popular belief, the wax type has little to do with whether a candle smokes or not, but what is important is the purity of the wax that is used. Any impurities mixed into the wax, including scent oils3, can impair combustion conditions and cause smoking4. Always choose candles with high-purity wax, and make sure the wax pool is free of any debris.
The most common culprit for a smoking candle is a flame disturbance, which itself can have multiple causes, as outlined below.
Move away from draught
If a candle is exposed to a draught, vent or air current, the flame will start flickering and it will likely smoke. To avoid this, move the candle out of the draught or shield the flame from the draught.
Keep the wick trimmed
A wick that is too long won't be able to draw wax all the way to the top, and the wick itself will start to burn, causing it to smoke. A wick that is too long can also cause a candle flame to grow too long and flare, again producing smoke. If the wick has gotten too long, extinguish the flame, let the candle cool down, trim the wick to 6mm and light again.
Avoid tunnelling
A tunnelling candle will usually smoke, as the tunnel disrupts the airflow to and from the flame, similar to a container that is too small - the next paragraph explains how this works. To prevent or fix tunnelling, read our tips here.
Choose the right candle holder
If your smoking candle is inside a candle holder (jar, vase, lantern or container), then it could be that it is too small for the candle. As the oxygen inside the container burns up, more air is sucked into the container from the top, yet at the same time warm air, heated by the candle, is rising up and trying to escape the container. These two flows of air disrupt each other, causing a draught inside the container that disturbs the flame. You can often see the results of a soot-producing candle on the rim of your jar in the form of a black ring.
To avoid this, choose a bigger candle holder and/or smaller candle: make sure that there is enough space between the candle and the edge of the vessel. As a rule of thumb, ideally you should be able to insert at least two fingers between the candle and the edge of the vessel.

Dip, don't blow
Last but not least is the process of extinguishing the candle. The greatest amount of sooting from a candle generally occurs when the flame is extinguished. One of the cleanest ways to do it is to dip the wick: extinguish your candle by pushing the wick into the pool of hot wax and pulling it back out.
Any candle that continually flickers or smokes is not burning properly and should be extinguished and allowed to cool. The wick can then be trimmed, the wax pool checked for any debris and the candle relit after ensuring that the area is free of draughts.

3. DRIPPING
A dripping candle can have a number of causes. Fortunately, if you're burning a well-made, good quality candle then all these issues can be easily remedied; it's just a matter of determining the cause and knowing the solution. So let's have a look at how to keep pillar candles from dripping.
Keep away from draughts
A draught, even a slight one, can cause the flame to sway, and this can melt the rim around the candle that holds the wax pool in place. Once that rim is breached, wax can drip down the sides. A strong draught can even cause molten wax from the wax pool to get blown over the sides of the candle. To avoid this, eliminate the source of the draught, move the candle out of the draught or shield the candle from the draught. Draughts can sometimes be hard to notice; look for telltale signs like a leaning flame, a flickering flame and wisps of smoke.
Keep distance between candles
If the candle is too close to other candles, this can cause irregular melting, warping and dripping. Place lit candles at least 10cm apart to avoid melting and dripping due to heat from neighbouring candles. If dripping occurs, it could also be that your candle is placed at an angle - make sure the candle is standing up straight.
Check your candle holder
Placing a candle or multiple candles inside a vase or container can look great, but due to the heat build up (the heat cannot escape as easily & the container walls reflect heat back to the candle) it could melt the rim of the candle and lead to dripping. Solutions are to use a larger container (we recommend leaving at least 3cm between the candle and the edge of the vase), placing less candles inside the container, burning the candle for shorter periods of time or to pre-tunnel the candle: rather than burning to the edge, create a thick rim (see above regarding tunnelling) which is less easy to melt down inside the candle holder.
Our 7cm diameter pillar candles have been tested not to drip in vessels from 13cm diameter upwards, so keep this in mind when choosing your holder.
Burn times
When you first light your candle, burn your candle for at least 4 hours; you want the wax pool to reach the edge of the candle to avoid tunnelling, but you don't want to melt through the mantle. As a rule of thumb, burn your candle for 1 hour per 2cm in diameter the first time you light it.
After the first burn, avoid burning your candle for longer than 4 hours; extinguish, let the candle cool down, trim the wick, and relight.
Don't let the wick get too long
If you notice your candle (might start) dripping, check the wick; it could be that the wick is too long, causing a large, flickering and unstable flame. Extinguish the flame, let the candle cool, trim the wick down to 6mm and relight.
As you see, most of the causes of dripping can be easily fixed and avoided, and if they cannot then it's likely a symptom of a poor quality candle (low quality wax, incorrect wick size or positioning, poor make quality) or the wax that is used is not suitable for the candle type (for instance using soy wax for a pillar candle). Always make sure to place a candle on a non-flammable, stable surface.
How to extinguish a candle
When the time comes to extinguish your candle, you could do better than blowing it out. Instead of filling your room with smoke and potentially splashing wax everywhere, dip the wick: extinguish your candle by pushing the wick into the pool of hot wax and pulling it back out. Use a specially designed wick dipper or any suitable non-flammable tool (e.g. a BBQ skewer). Dipping the wick eliminates wick smouldering and smoking. Added bonus: the wick gets coated in wax and is primed for the next lighting.
How to store candles
Candles can be stored for a long time; anywhere up to 12 months is not an issue, and even after a few years they usually still burn fine as long as they have been stored correctly. Candles are sensitive to temperature and light. Prevent candles from fading, cracking and melting by placing your candles in a cool, dry place, away from direct sunlight, dust and fluorescent light. Store your candles in an upright position and don’t leave them in a car on a warm day, or they might warp from the heat.
Enjoy your candles!
That's it! Follow the guidelines listed above and you should be well on your way to enjoying your candlelit evenings and events. And don't forget to check out Candle Kiosk's online candle shop for all your candle needs. If you have any feedback or further questions, please get in touch.
-
Provided they are kept out of draughts and not placed too close together (for details please refer to the safety label on the bottom of our candles and our Candle Safety instructions)↵
-
Report on the Ökometric Wax and Emissions Study - Bayreuth Institute of Environmental Research in Germany (Ökometric GmbH), 2007↵
-
CANDLES AND INCENSE AS POTENTIAL SOURCES OF INDOOR AIR POLLUTION: MARKET ANALYSIS AND LITERATURE REVIEW (EPA/600/R-01/001) - Knight, L., A. Levin, AND C. Mendenhall, U.S. Environmental Protection Agency, Washington, D.C., 2001↵
-
Characterization of Scented Candle Emissions and Associated Public Health Risks - J. David Krause, Department of Environmental and Occupational Health, College of Public Health, University of South Florida, August 1999↵